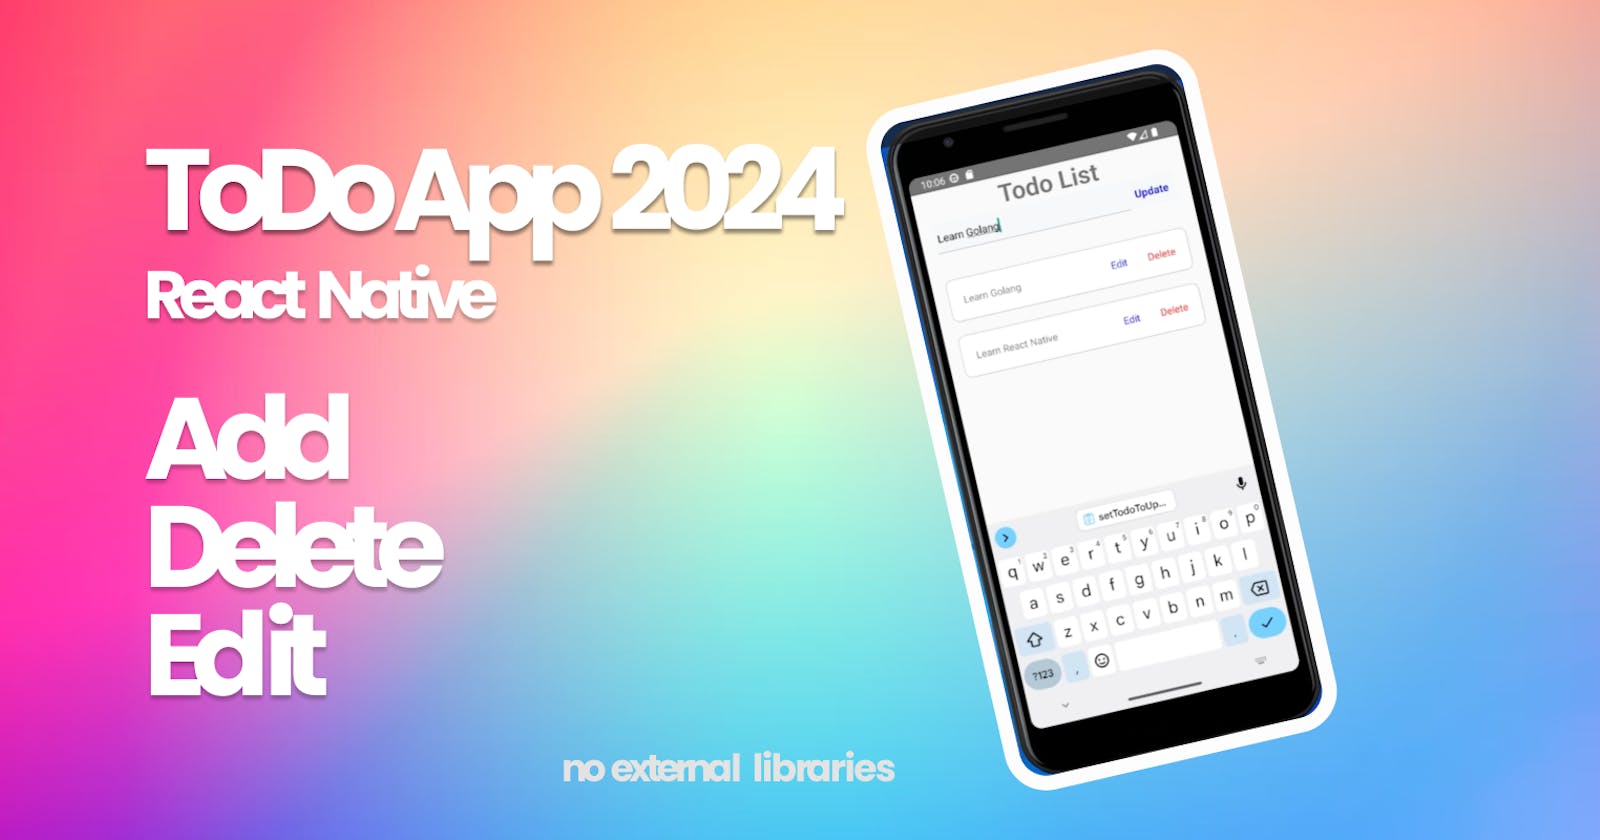


In this tutorial we are going to implement a react native todo app with typescript without using any libraries.
This code below defines a React application with a context (TodoContext) and a reducer (todoReducer) managing a list of todos. The App component initializes the todo state using a reducer, creates a context provider, and renders the Home component within the context provider, enabling the Home component to access and update the todo state through the context.
function todoReducer(state: TodoState, action: TodoAction): TodoState {
  switch (action.type) {
    case 'delete':
      const filteredTodos = state.todos.filter(
        todo => todo.id !== action.payload,
      );
      return {...state, todos: filteredTodos};
    case 'add':
      return {...state, todos: [action.payload, ...state.todos]};
    case 'update':
      const index = state.todos.findIndex(
        todo => todo.id === action.payload.id,
      );

      const newState = [
        ...state.todos.slice(0, index),
        action.payload,
        ...state.todos.slice(index + 1),
      ];
      return {...state, todos: newState};

    default:
      return todosInitalState;
  }
}

export const TodoContext = React.createContext<TodoContextType>({
  state: todosInitalState,
  dispatch: () => {},
});
export default function App() {
  const [state, dispatch] = React.useReducer(todoReducer, todosInitalState);

  return (
    <TodoContext.Provider value={{state, dispatch}}>
      <Home />
    </TodoContext.Provider>
  );
}
This code defines a React Native component named Home for a Todo List application. It uses the TodoContext to access and modify the todo state managed by the context provider in the App component. The component includes functionality for adding, updating, and deleting todos. The user interface consists of a text input for adding/editing todos, a button to perform the add/update operation, and a list of todos displayed with options to edit or delete each item. The todo data is rendered using a FlatList component, and state management is achieved through the use of React hooks such as useState and useContext.
export default function Home() {
    const {state, dispatch} = useContext(TodoContext);
    const [todoText, setTodoText] = React.useState('');
    const [editMode, setEditMode] = React.useState(false);
    const [todoToUpdate, setTodoToUpdate] = React.useState<Todo>();
    const TextInputRef = React.useRef<TextInput>(null);

    const handleTodoDelete = (todo: Todo) => {
      dispatch({type: 'delete', payload: todo.id});
    };

    const handleAddTodo = () => {
      const newTodoItem = {
        id: new Date().valueOf() / Math.random(),
        text: todoText,
      };
      dispatch({type: 'add', payload: newTodoItem});
      setTodoText('');
      Keyboard.dismiss();
    };

    const handleEditButton = (todo: Todo) => {
      TextInputRef.current?.focus();
      setEditMode(true);
      setTodoText(todo.text);
      setTodoToUpdate(todo);
    };
    const handleTodoUpdate = () => {
      const newTodoItem = {
        id: todoToUpdate?.id,
        text: todoText,
      };
      dispatch({type: 'update', payload: newTodoItem});
      setTodoText('');
      Keyboard.dismiss();
      setEditMode(false);
    };
The following code renders the UI for the home screen.
 const renderItem = ({item}: {item: Todo}) => {
      return (
        <View
          style={{
            flexDirection: 'row',
            justifyContent: 'space-between',
            backgroundColor: '#fff',
            borderColor: 'rgba(0, 0, 0, 0.2)',
            borderWidth: 1,
            padding: 20,
            marginVertical: 10,
            borderRadius: 10,
          }}>
          <View
            style={{
              flex: 0.9,
            }}>
            <Text>{item.text}</Text>
          </View>
          <View
            style={{
              flexDirection: 'row',
              justifyContent: 'space-between',
            }}>
            <TouchableOpacity onPress={() => handleEditButton(item)}>
              <Text style={{marginRight: 10, color: 'blue'}}>Edit</Text>
            </TouchableOpacity>
            <TouchableOpacity
              style={{marginLeft: 10}}
              onPress={() => handleTodoDelete(item)}>
              <Text style={{marginLeft: 10, color: 'red'}}>Delete</Text>
            </TouchableOpacity>
          </View>
        </View>
      );
    };

    return (
      <View
        style={{
          paddingHorizontal: 20,
        }}>
        <Text
          style={{
            paddingHorizontal: 15,
            fontSize: 35,
            fontWeight: '600',
            textAlign: 'center',
          }}>
          Todo List
        </Text>

        <View
          style={{
            flexDirection: 'row',
            marginTop: 'auto',
            marginBottom: 30,
            backgroundColor: '#f7f8fa',
            alignItems: 'center',
          }}>
          <TextInput
            ref={TextInputRef}
            style={{
              flex: 0.8,
              height: 42,
              borderBottomWidth: 1,
              borderBottomColor: 'rgba(0, 0, 0, 0.2)',
              color: '#000000',
              fontSize: 15,
              textAlignVertical: 'center',
            }}
            placeholder="I want to..."
            value={todoText}
            onChangeText={setTodoText}
          />
          <TouchableOpacity
            onPress={editMode ? handleTodoUpdate : handleAddTodo}
            style={{flex: 0.2, alignItems: 'center', justifyContent: 'center'}}>
            <Text style={{color: 'blue', fontWeight: '600', fontSize: 15}}>
              {editMode ? 'Update' : 'Add'}
            </Text>
          </TouchableOpacity>
        </View>
        <FlatList
          data={state.todos}
          keyExtractor={item => item.id.toString()}
          renderItem={renderItem}
        />
      </View>
    );
  }
No external libraries are used in this tutorial. The useContext hook is used to access and update the todo state managed by the context provider.
 "dependencies": {
      "react": "18.2.0",
      "react-native": "0.73.2"
    },
    "devDependencies": {
      "@babel/core": "^7.20.0",
      "@babel/preset-env": "^7.20.0",
      "@babel/runtime": "^7.20.0",
      "@react-native/babel-preset": "0.73.19",
      "@react-native/eslint-config": "0.73.2",
      "@react-native/metro-config": "0.73.3",
      "@react-native/typescript-config": "0.73.1",
      "@types/react": "^18.2.6",
      "@types/react-test-renderer": "^18.0.0",
      "babel-jest": "^29.6.3",
      "eslint": "^8.19.0",
      "jest": "^29.6.3",
      "prettier": "2.8.8",
      "react-test-renderer": "18.2.0",
      "typescript": "5.0.4"
    },